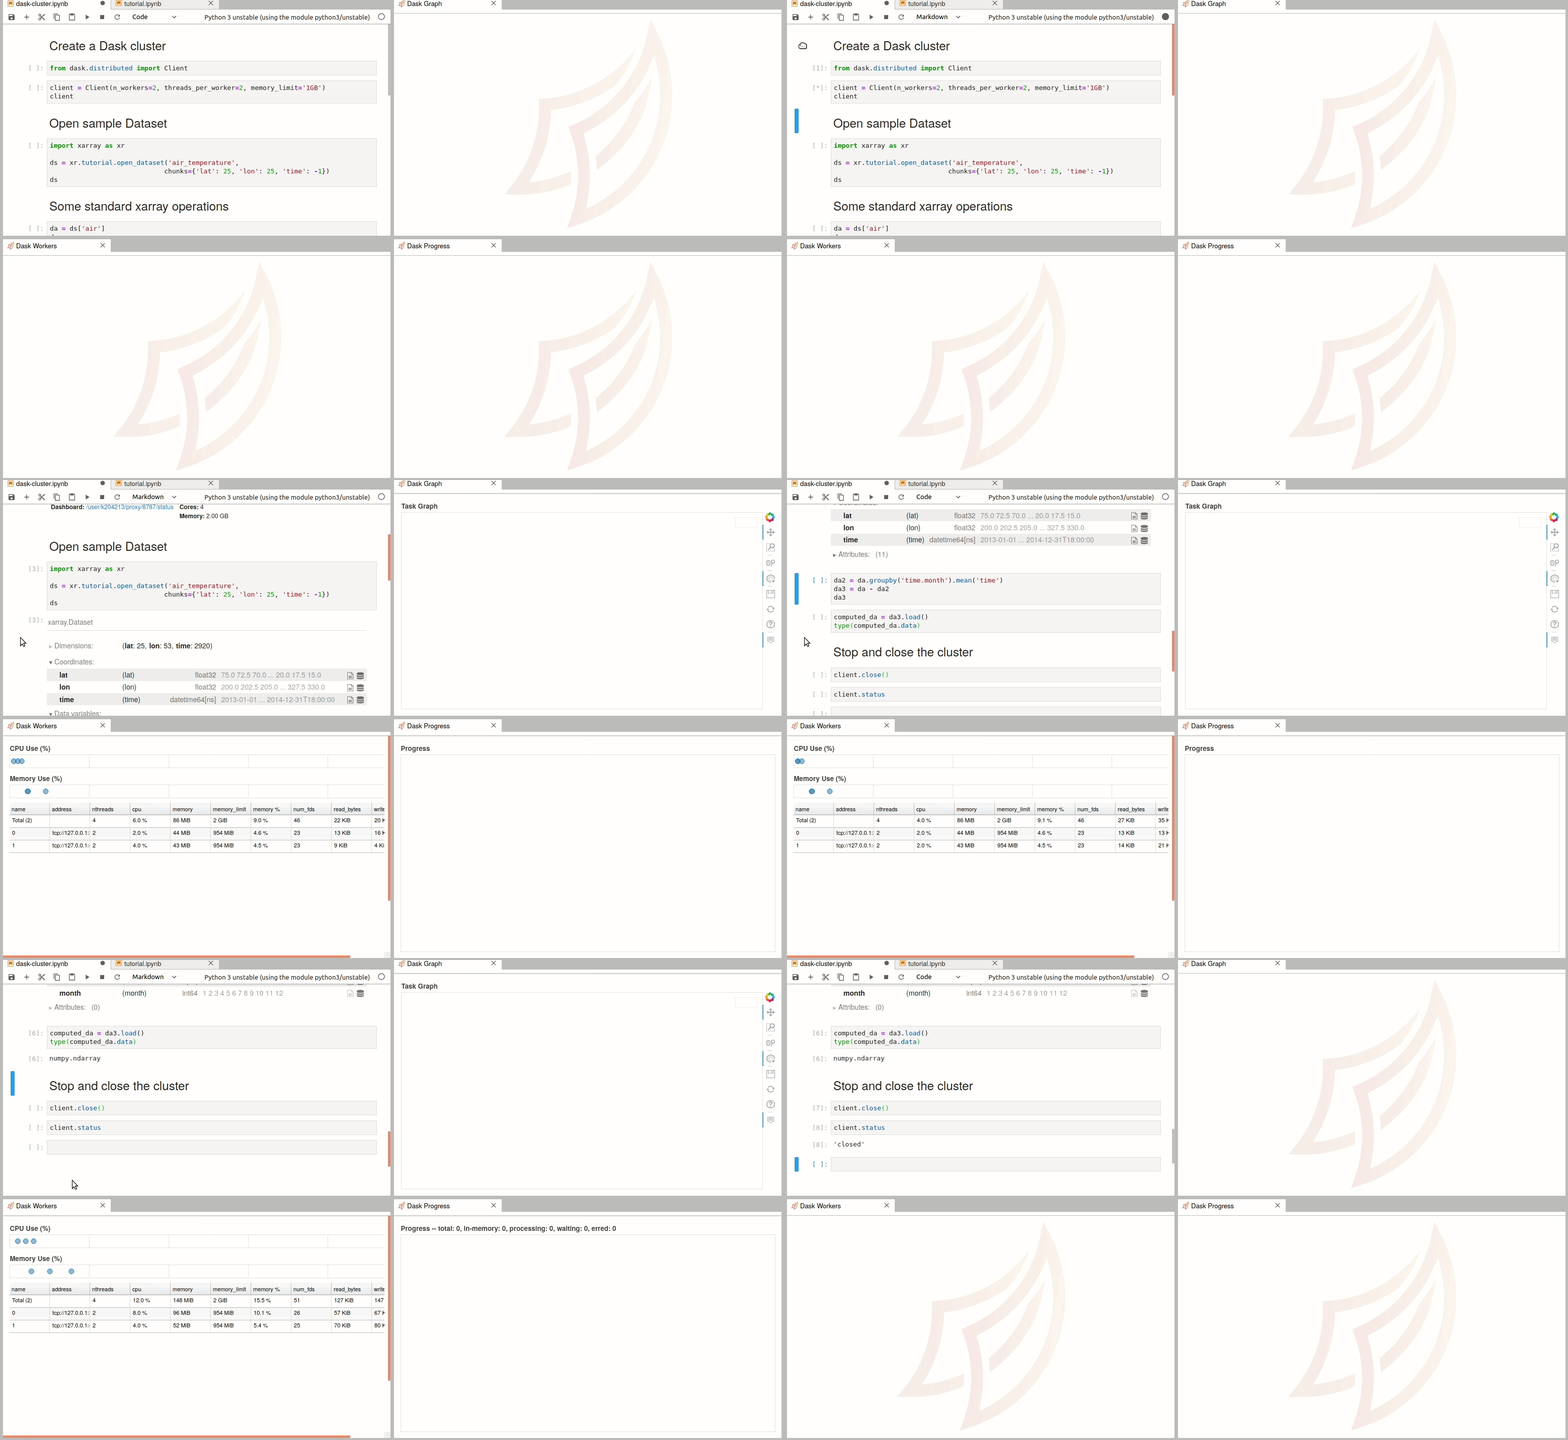
Dask cluster with distributed#
There are multiple ways to create a dask cluster, the following is only an example. Please consult the official documentation. The Dask library is installed and can be found in any of the python3 kernels in jupyterhub. Of course, you can use your own python environment.
The simplest way to create a Dask cluster is to use the distributed module:
from dask.distributed import Client
client = Client(n_workers=2, threads_per_worker=2, memory_limit='1GB')
Visualize the cluster: Dashboard#
If you are looking for a nice visualization tool, we already have installed the Dask jupyterlab extension into Jupyterhub and is available for all users.

Dask Labextension#
Sometimes, it is necessary to update the dashboard link for the dask
cluster. This can be achieved in either directly in your code or in one
of dask configuration files. For example, if you use distributed to
start the cluster, you can update the dashboard link in the
distributed.yaml in ~/.config/dask directory:
distributed:
   dashboard:
     link: "{JUPYTERHUB_SERVICE_PREFIX}/proxy/{port}/status"
If you still have issues with the dashboard link, you can update the link manually before starting the cluster:
import dask
from dask.distributed import Client

dask.config.config.get('distributed').get('dashboard').update({'link':'{JUPYTERHUB_SERVICE_PREFIX}/proxy/{port}/status'})
Best practices#
you can also use the following code to check the available resources on the node:
import multiprocessing
ncpu = multiprocessing.cpu_count()
processes = False
nworker = 2
threads = ncpu // nworker
print(
    f"Number of CPUs: {ncpu}, number of threads: {threads}, number of workers: {nworker}, processes: {processes}",
)
client = Client(
    processes=processes,
    threads_per_worker=threads,
    n_workers=nworker,
    memory_limit="16GB",
)
client