Save the colormap as a preset#
Note
This document is based on a series teaching how to Display clouds as a semi-transparent overlay
Go to the colormap editor, chose the Save to preset option next to the preview.
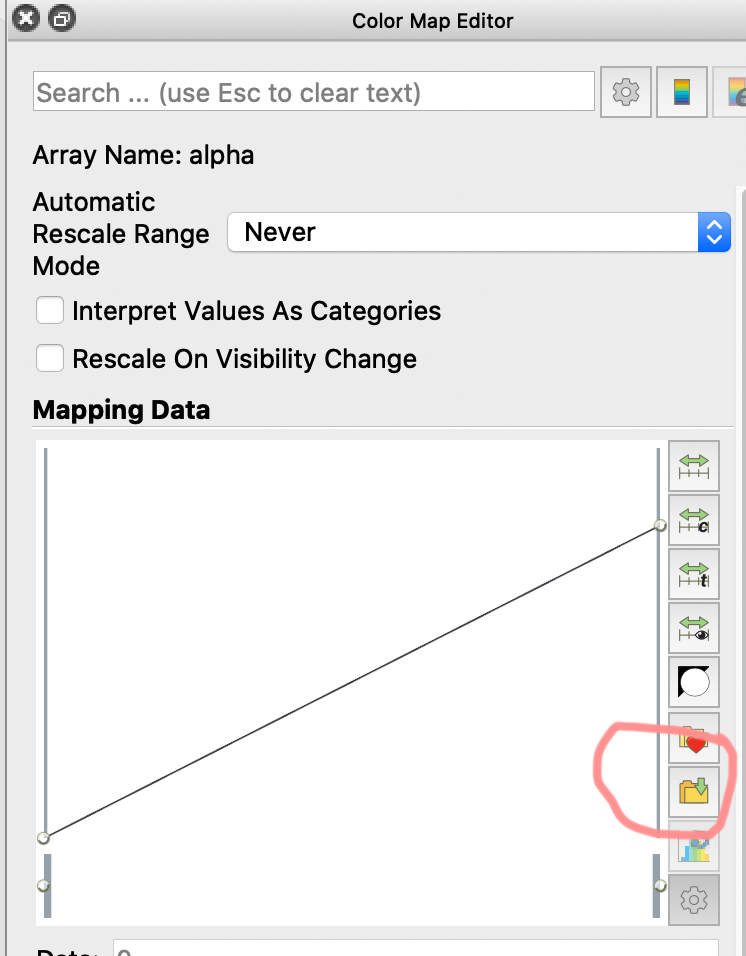
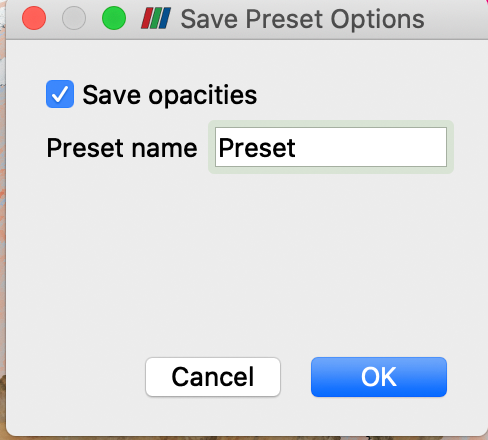
You can give the colormap a name, and chose to also save the opacity information.
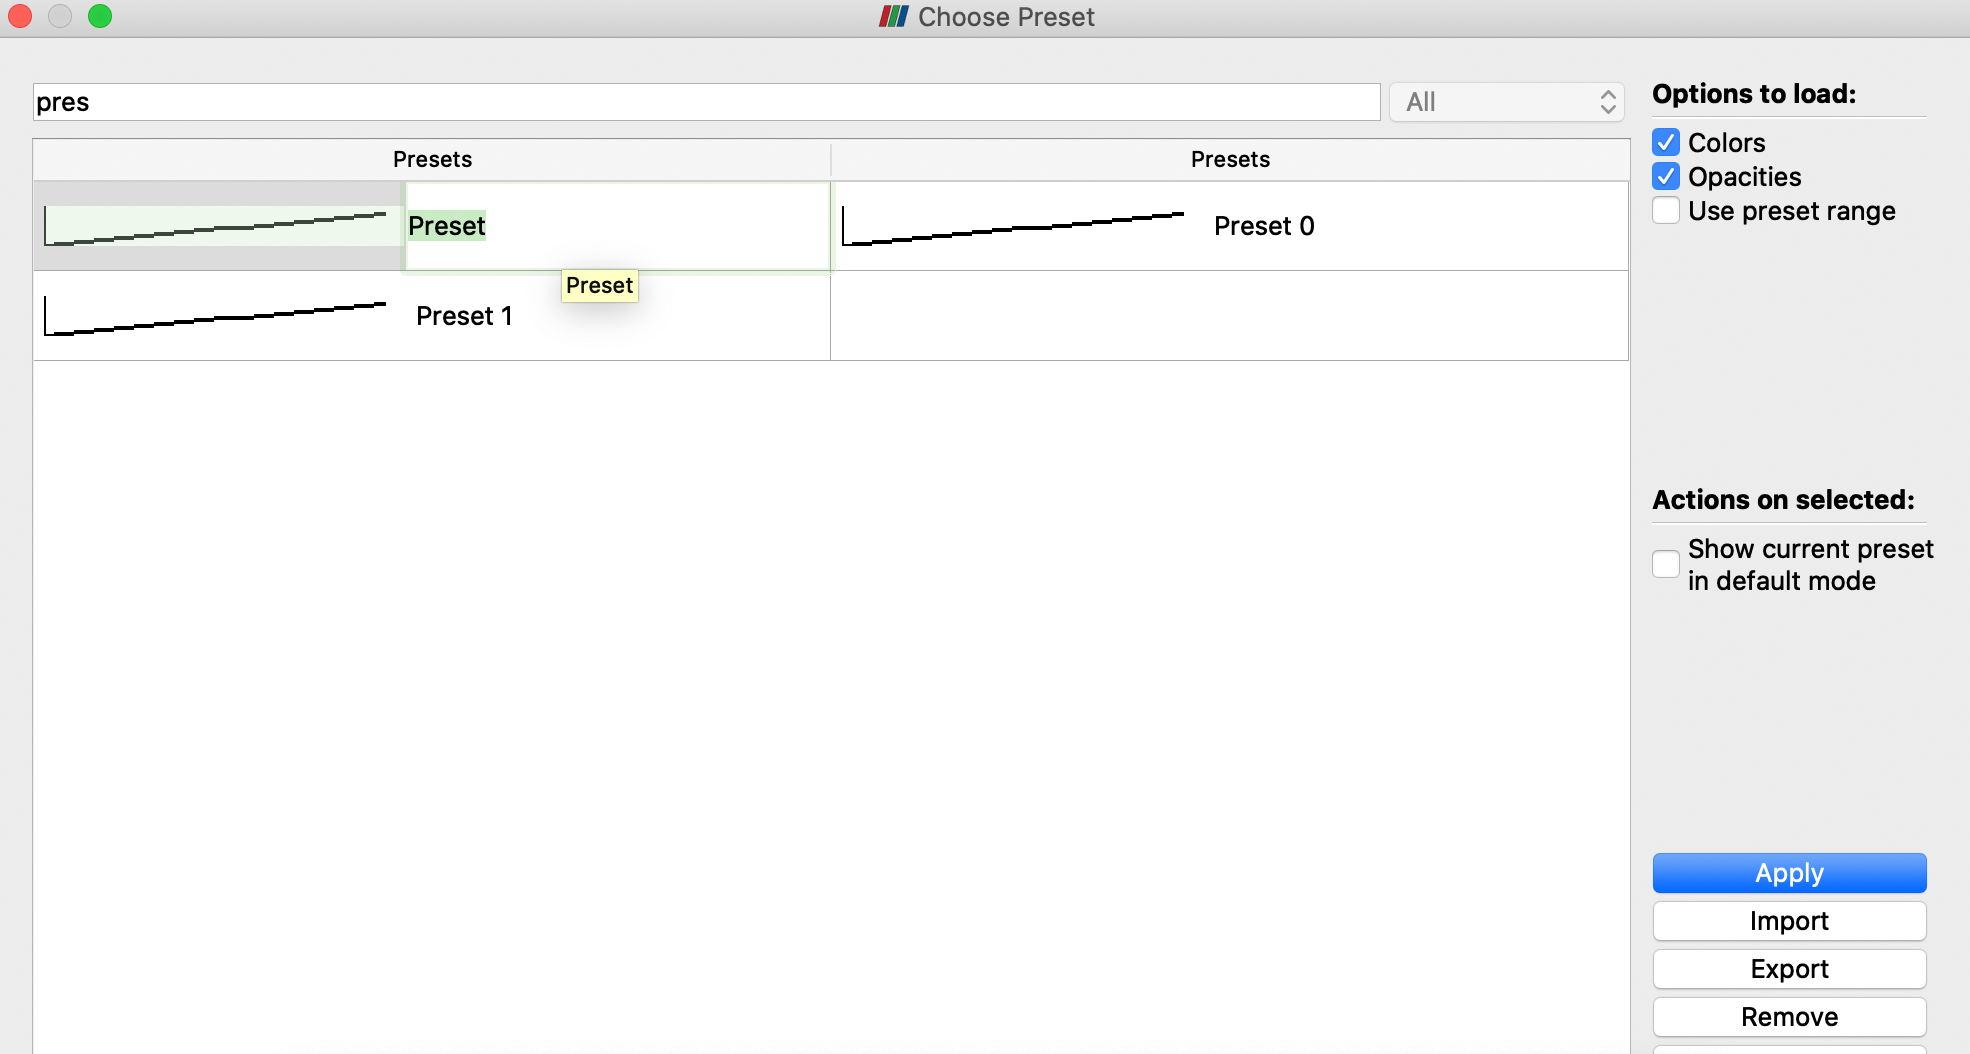
If this name cannot be found in the following pop-up dialogue, search for Preset in the top menu and rename…
This is the end of the tutorial Display clouds as a semi-transparent overlay. Feel free to Save a state file, and Export an animation.