Add an image as texture (plane) in the background#
Note
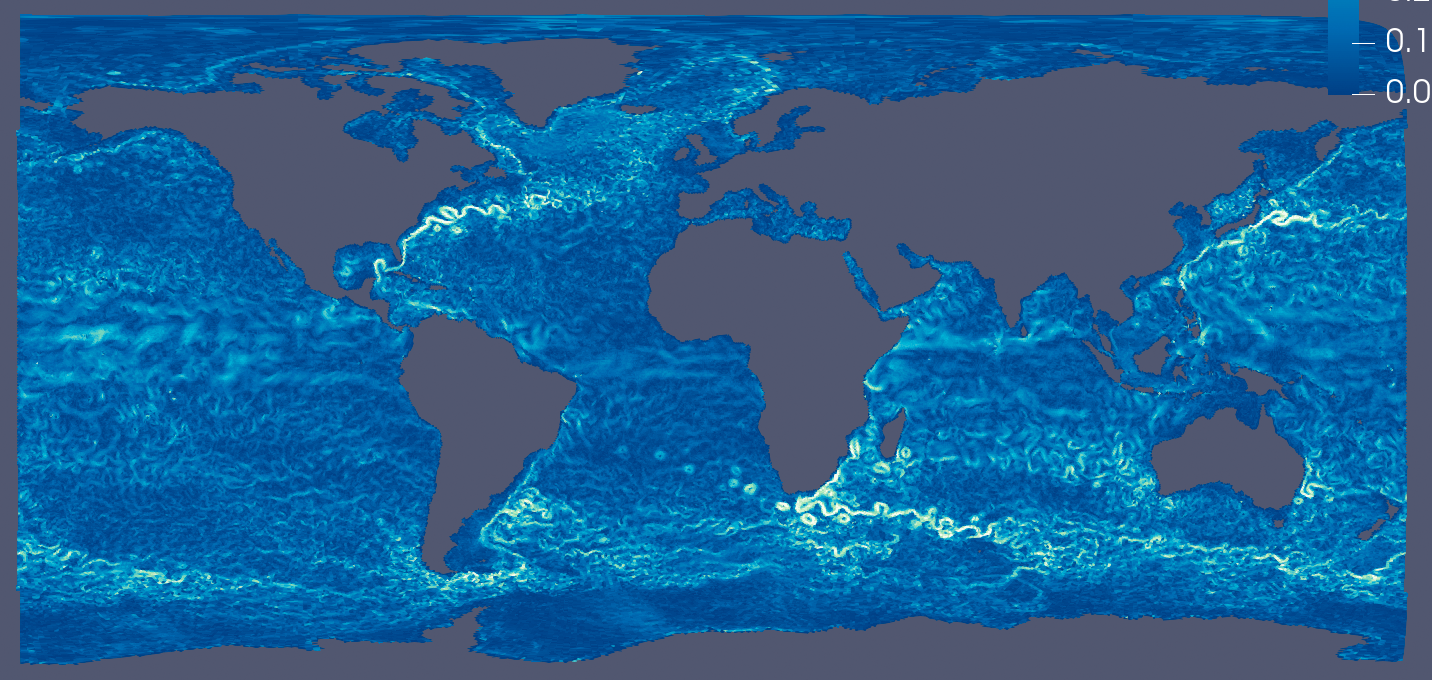
This document is part of a series teaching how to Create an image of sea surface speeds.
See also Add an image as texture on a sphere
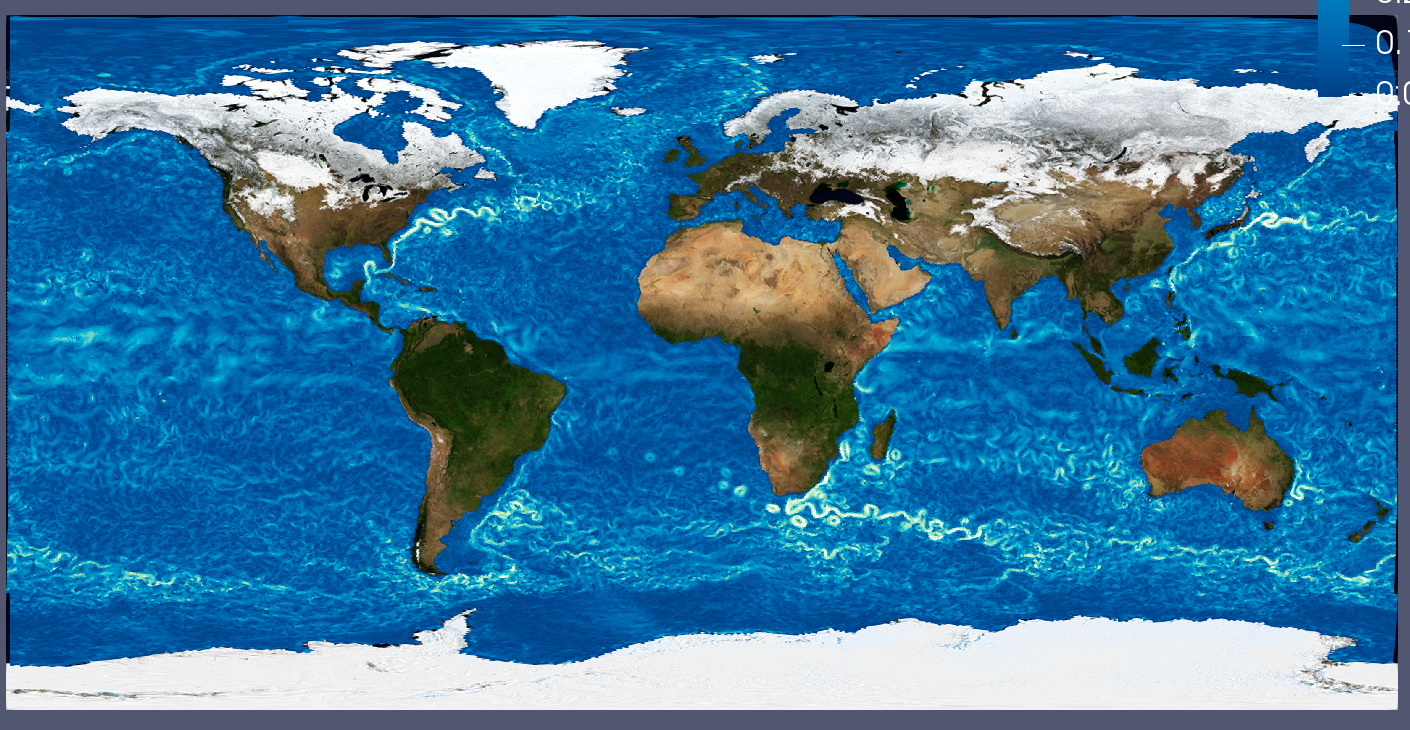
You can find beautiful images on the NASA Blue Marble Next Generation page For this example, you can use a low-res version of the February image.
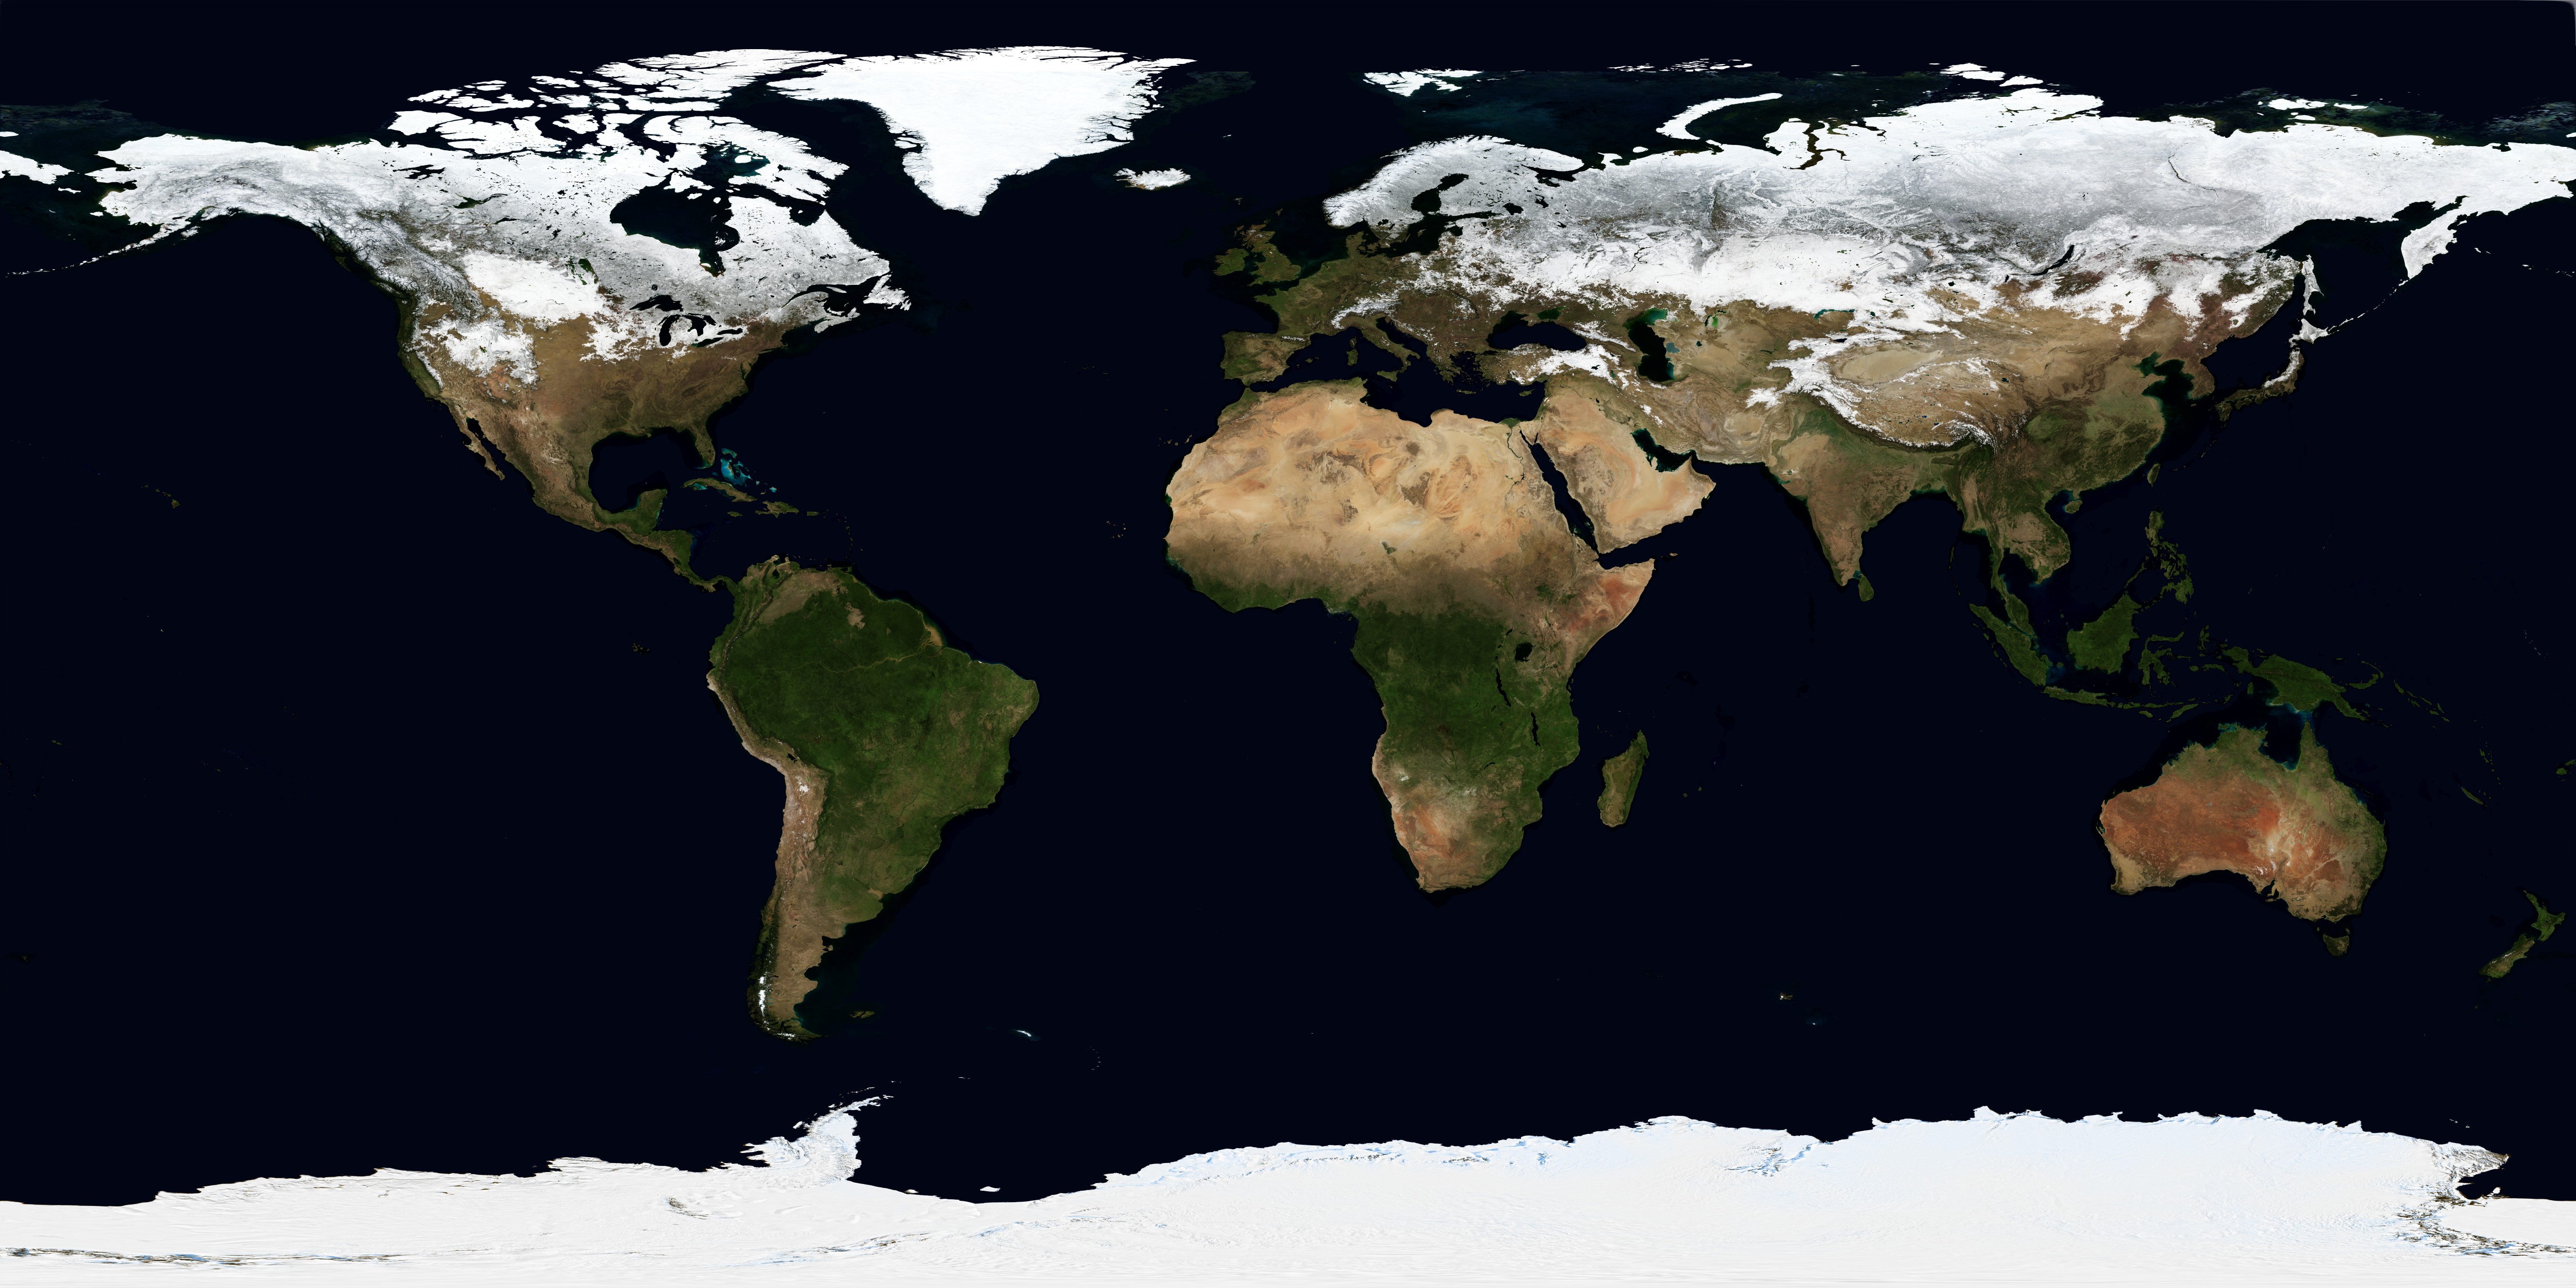
As our ocean data set has holes on the land points, we have to first create a plane behind it, before we can attach an image of Earth.
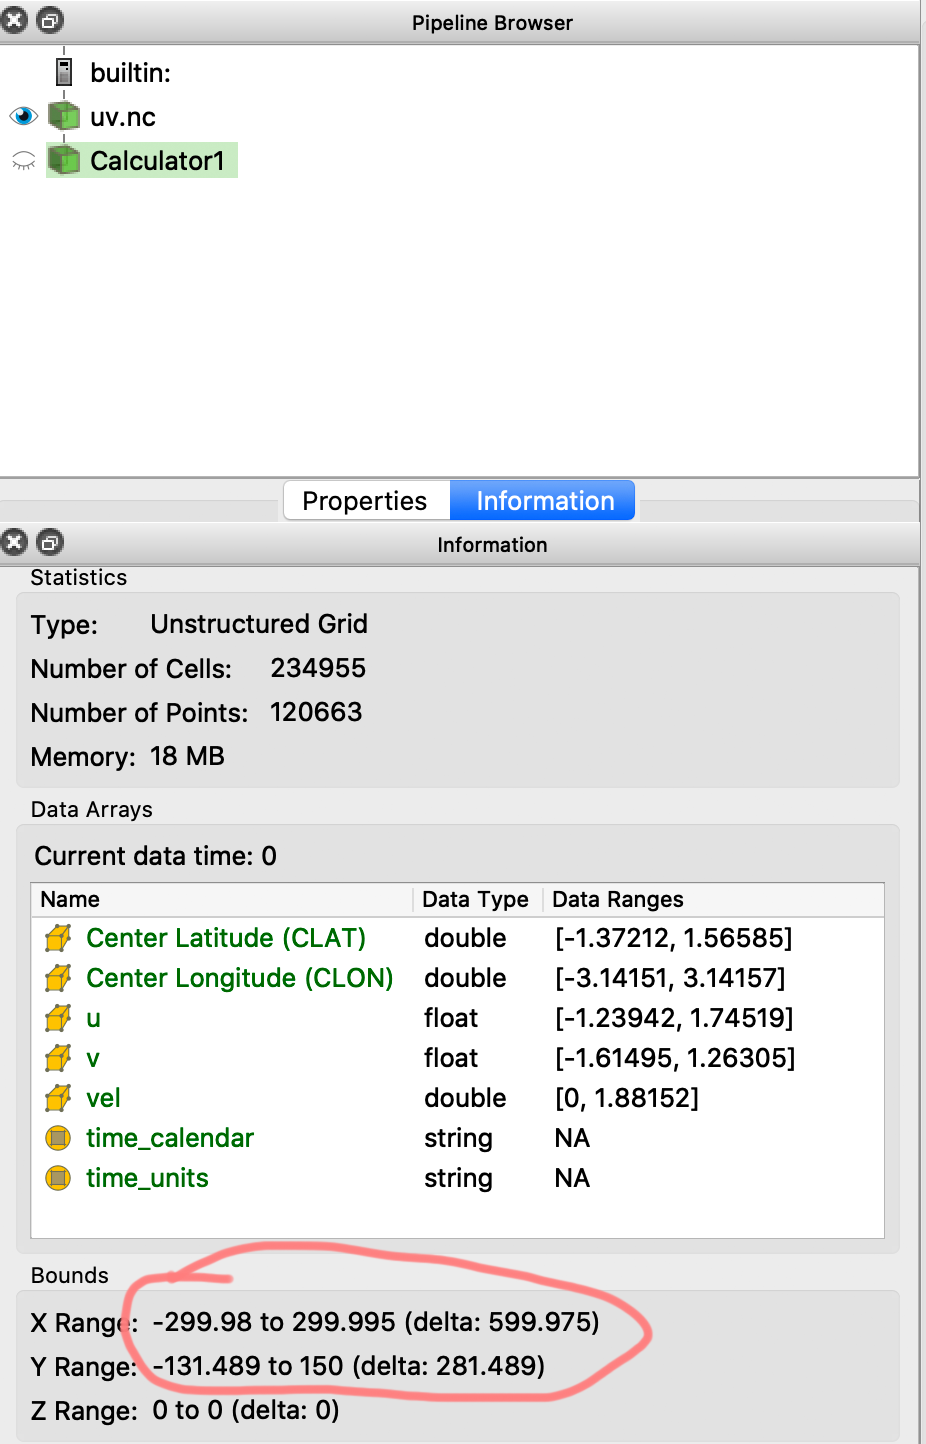
As a first step, we figure out the size of Earth in paraview. For this we need the Information View (View-> Information). There we look for the section Bounds and note the extreme values. The x-range is from roughly -300 to 300, the y-range is from roughly -131 to 150. The lower bound of the y-range is a bit weird, because Antarctica is cut off, because the oceans don’t reach 90 deg S. Now we know our plane needs to be -300 to 300 by -150 to 150, and just below z=0.
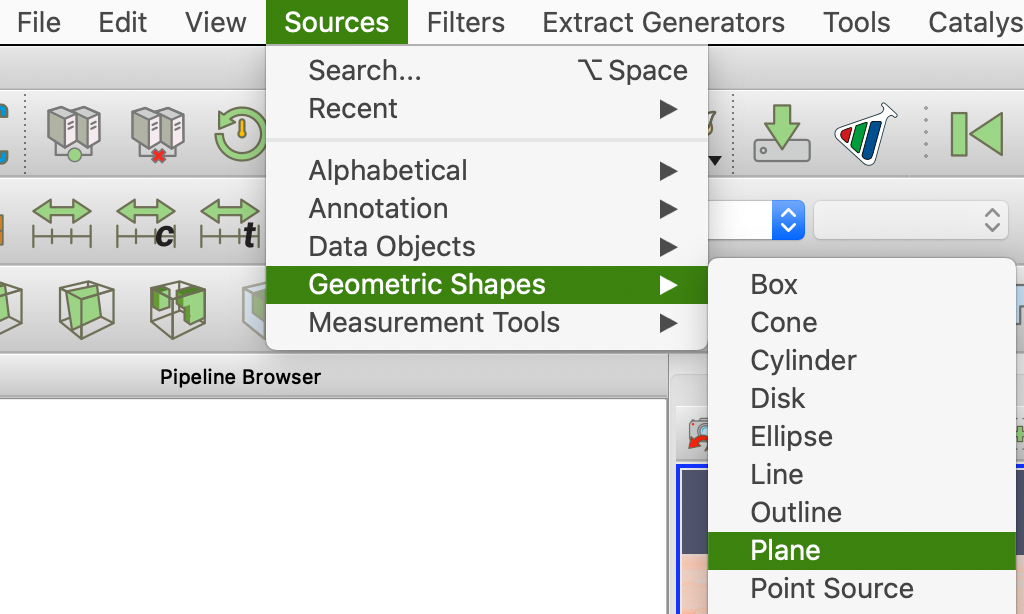
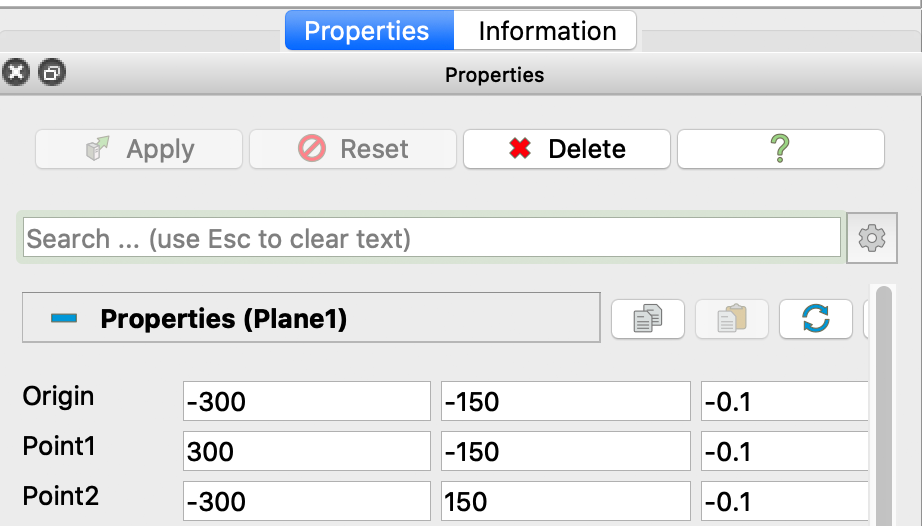
We can get a plane from the Sources menu, e.g. from Geometric Shapes.
Here we adjust the x coordinates to +/- 300 and the y coordinates to +/- 150, keeping the signs as they were. As z-coordinate we use -0.1 to put this plane just below the ocean.
After clicking Apply, we should have all land areas filled with white.
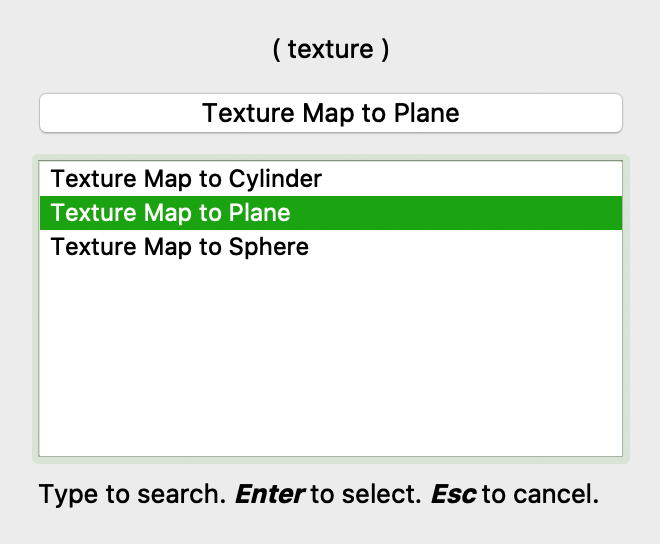
Now we can add the texture itself. Chose Filters->Search... and type texture. You will be presented with the three different texture filters. Chose Texture Map to Plane and hit Enter
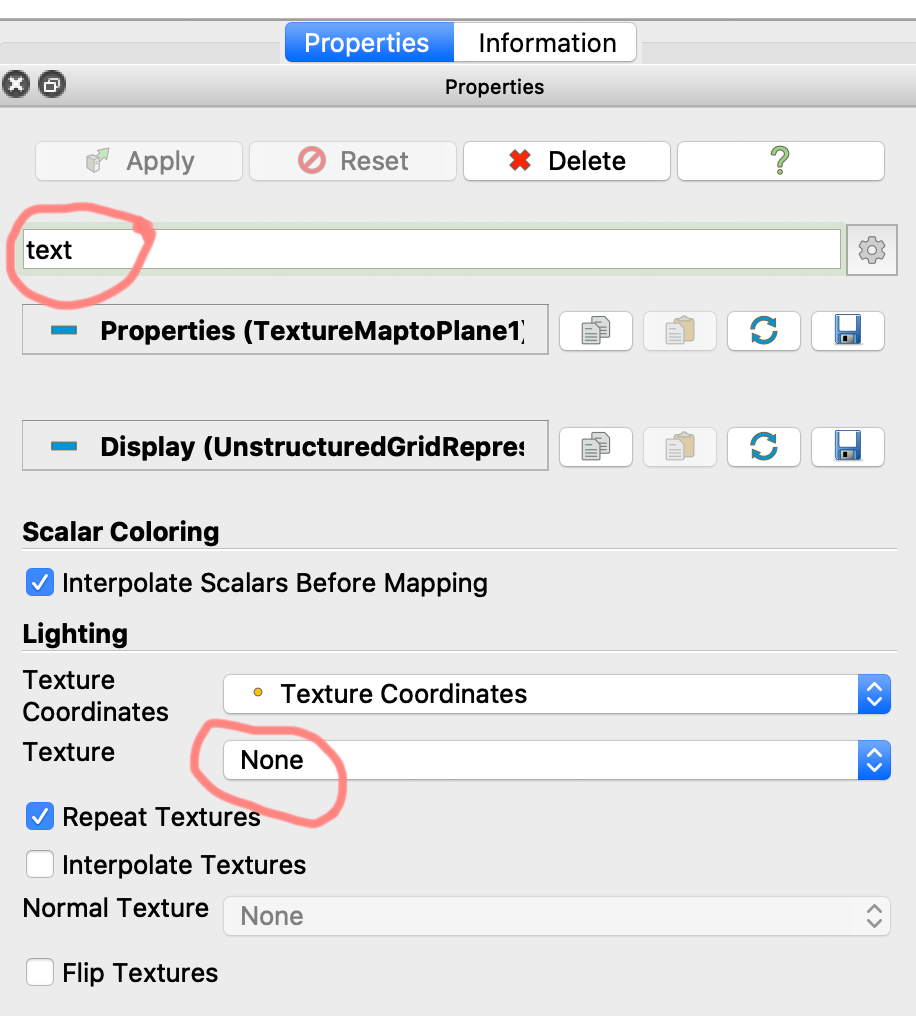
Now you first have to click apply before you can set the texture (for whatever reason)

Now use the text box and search for texture. Click the Texture dropdown menu, and chose load.
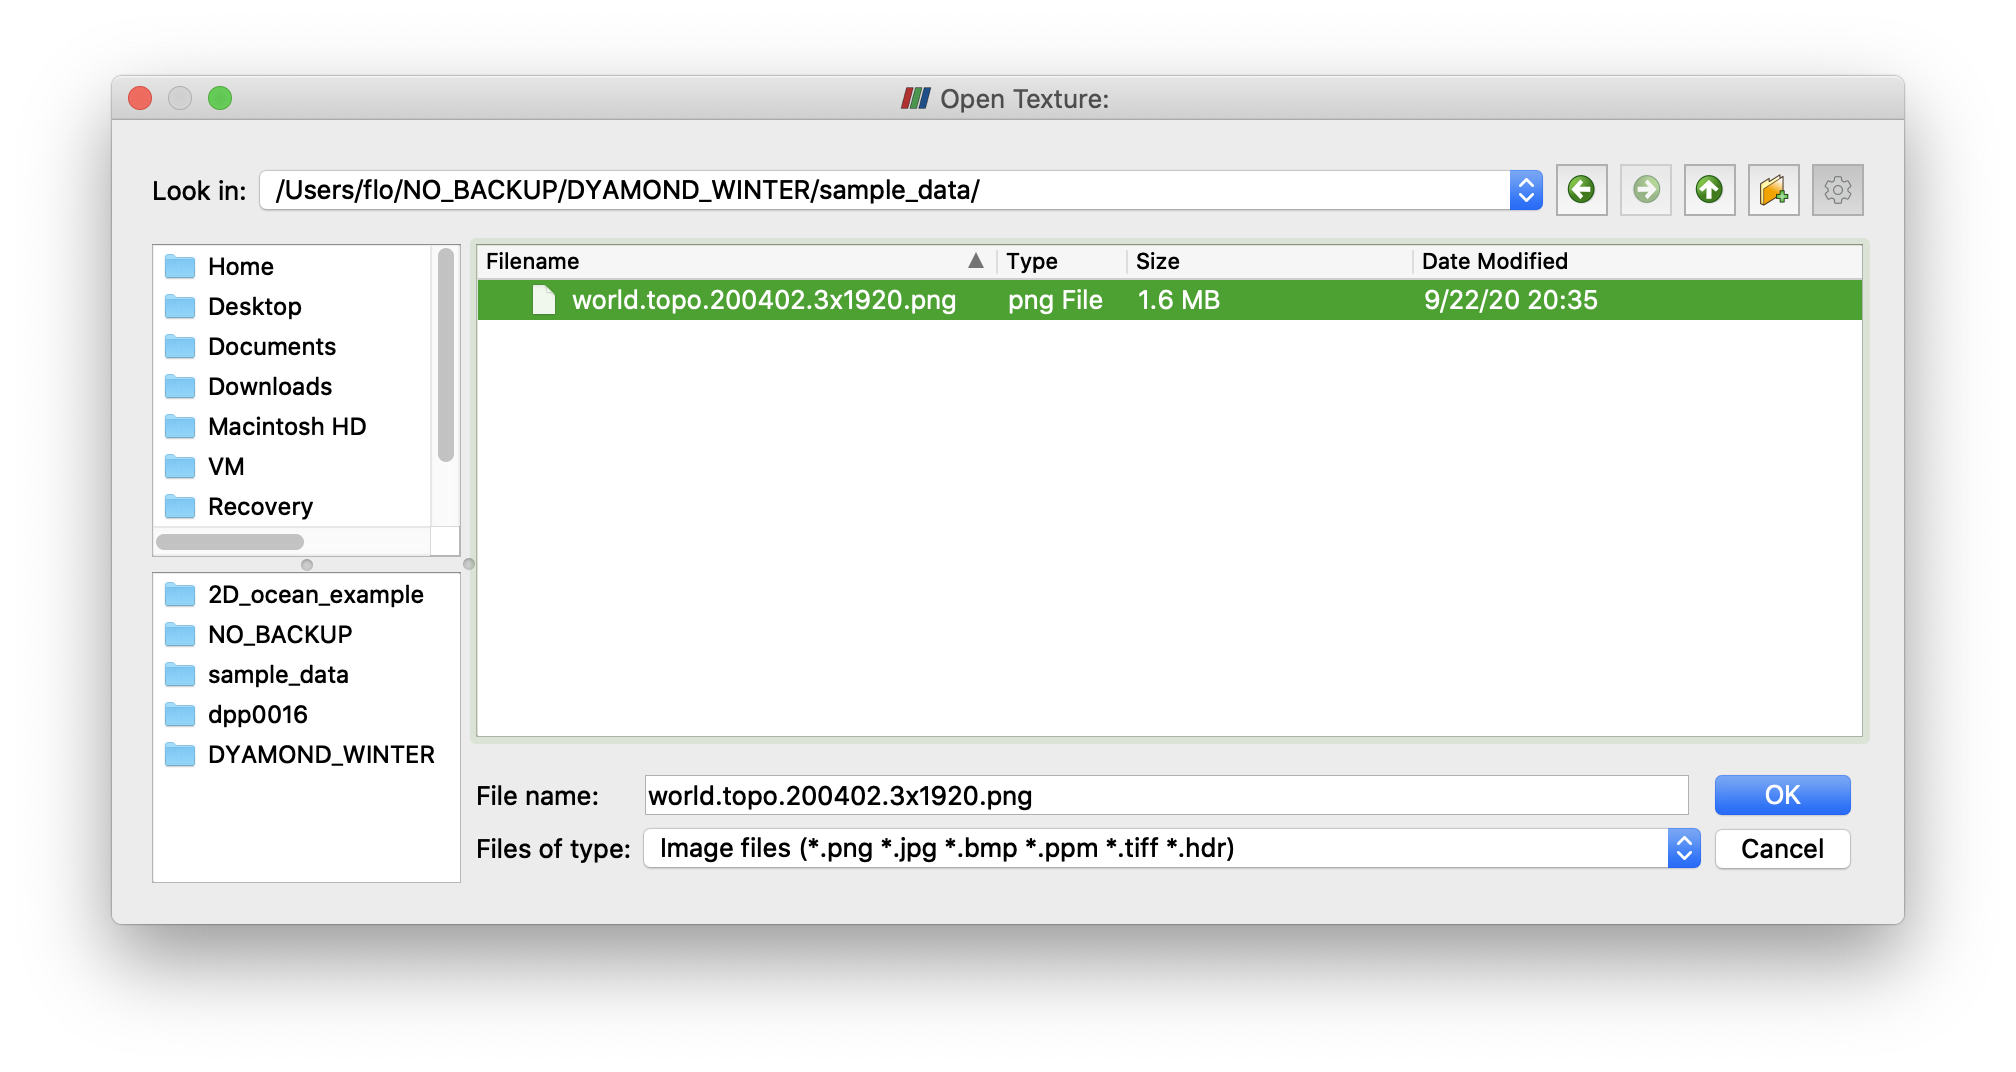
Pick the small blue marble from the directory with the sample data (or use any one of NASA’s Blue Marble images, e.g. the low-res version of the February image. (Thanks, NASA for that great service!).
You should have Earth peeking out of the holes in the ocean.
Next, you can Switch to camera parallel projection to reduce projection artifacts.